How Do You Program a Transponder Key?
When it comes to enhancing your vehicle's security, transponder keys are a game-changer. These smart keys use a microchip to communicate with your car's ignition system, ensuring only the right key can start the engine. But what happens if you need a new key? Don’t worry; programming a transponder key might sound complex, but with the right guidance, you can do it yourself. In this article, we'll walk you through everything you need to know about transponder key programming, step by step. Ready to dive in and take control of your car’s security? Let’s get started!
What is a Transponder Key?
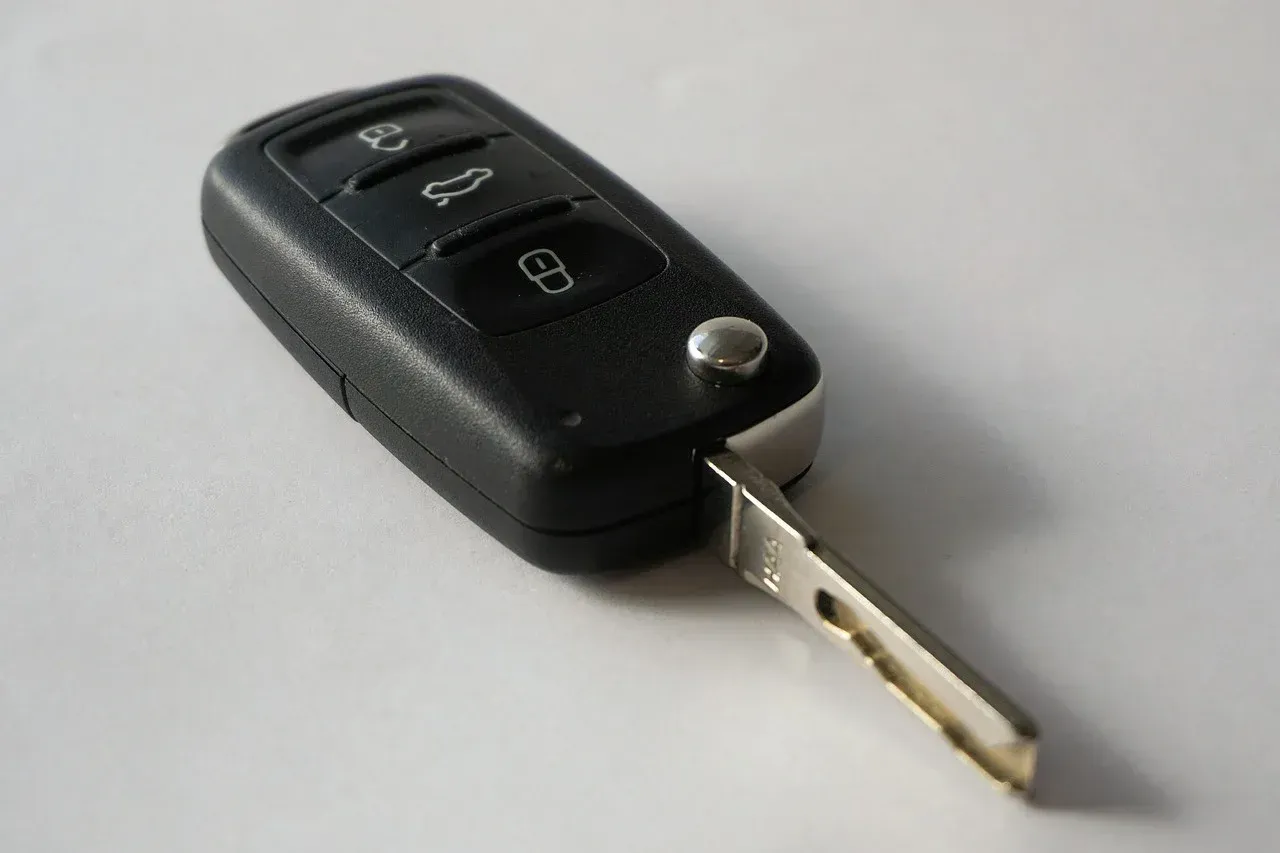
A transponder key is a sophisticated car key equipped with a microchip that communicates with your vehicle’s ignition system. Introduced to enhance automotive security, transponder keys work by sending a unique signal to the car’s computer when inserted into the ignition. This signal ensures that only the correctly programmed key can start the vehicle, significantly reducing the risk of theft. With their blend of advanced technology and practicality, transponder keys have become a standard feature in modern vehicles, providing peace of mind and reliable protection for car owners.
Tools and Equipment Needed
To successfully program a transponder key, you'll need a few essential tools and pieces of equipment. Here's what you'll need:
- Transponder Key Blank: A new, unprogrammed key that matches your vehicle’s make and model.
- Car’s Manual: Your vehicle’s manual often contains specific instructions for key programming.
- Programming Device or OBD2 Scanner: These devices are crucial for accessing the car's computer system and programming the new key.
- Existing Master Key: If you have one, the original key can make the programming process smoother.
- Key Cutting Machine:If your transponder key blank needs to be cut to match your car's locks, you'll need access to a professional key cutting machine.
- Safety Precautions: Ensure you’re working in a safe environment, ideally with protective gear, and have a fully charged car battery to avoid any interruptions during the programming process.
Step-by-Step Guide to Programming a Transponder Key
Preparation
Start by gathering all necessary tools and equipment, including your transponder key blank, car’s manual, programming device, and existing master key if you have one. Make sure your car battery is fully charged to avoid any interruptions during the process.
Key Cutting (if applicable)
If your transponder key blank needs to be cut, take it to a professional locksmith. Precise key cutting is crucial to ensure the new key fits perfectly in your car’s locks.
Programming the Key
Using an Existing Master Key: Insert the master key into the ignition and turn it to the 'On' position. Leave the key in this position for about 10 minutes. Turn off the ignition and remove the master key. Insert the new transponder key, turn it to the 'On' position, and wait for another 10 minutes. Repeat this process if required by your car’s model.
Using a Programming Device: Connect the programming device to your car’s OBD2 port, typically located under the dashboard. Follow the device’s on-screen instructions to program the new key. This usually involves selecting your vehicle’s make and model and entering specific codes. Once the device confirms successful programming, test the new key to ensure it works properly.
Verification
After programming, start your car with the new transponder key to verify that it’s functioning correctly. Ensure that the car starts smoothly and the security light on the dashboard turns off, indicating successful programming.
Following these steps will help you program your transponder key efficiently and securely, providing added convenience and security for your vehicle.
Tips for Successful Programming
- Ensure the car battery is fully charged.
- Keep the original master key safe and functional.
- Follow the car’s manual for specific instructions.
- Use a reliable programming device or OBD2 scanner.
- Perform the programming in a quiet, interference-free environment.
- Test the new key immediately after programming.
- Seek professional help if you encounter issues.
- Regularly maintain and test all transponder keys.
- Avoid exposing the keys to extreme temperatures or moisture.
- Double-check that the key blank matches your vehicle’s make and model.
Conclusion
Programming a transponder key might seem daunting at first, but with the right tools, clear instructions, and a bit of patience, you can handle it yourself and ensure your vehicle's security. By following the steps outlined in this guide and keeping our tips for successful programming in mind, you’ll have your new transponder key up and running in no time. Remember, whether you’re using an existing master key or a programming device, attention to detail is key. So go ahead, take control of your car’s security, and enjoy the peace of mind that comes with knowing your vehicle is protected.
Call Us Any Time!